A while ago I was at the store and an announcement came over the speaker that I could get a free pairing knife just by going to a certain area of the store. Since I was pretty much in that area and only had to walk 10 feet, I figured I'd get a free knife... Of course you are all smarter than me and know that it wasn't going to be that easy! First we had to listen to a sales pitch on why we should buy this whole boxed knife set.
The salesperson starts discussing the knife that everybody has which is incredibly dull and won't slice bread without mashing it. Um. Yeah. I didn't agree with that and actually had to stop myself from giving tips on how to correctly slice bread so it doesn't get smooshed. I could do a whole tutorial on how to slice bread... but I'm sure the salesman wouldn't have appreciated me doing that there.
A little later the salesperson was explaining how their fillet knife was so great and showed he could cut the skin off the tomato. At which point in my head I was like, "Man you have impressive knifing skills, how much did you practice to get that good?" I almost said that as well. I actually had to bite my lip to not say that out loud. I'm sure that is not what was going through the head of the guy next to me who was asked if he liked fish... he was probably thinking, "I want a knife that could skin a fish that well." Now I'm not saying that a fillet knife won't make it easier to skin a fish, but it does take practice to use it as well as that salesperson!
I am probably the only person who was in that group that walked away with a free knife and did not buy the whole set. Honestly I don't believe the knives were anything special but that salesman was really good!
So lesson I learned that day - if you know your stuff you aren't as likely to buy an impulse purchase in the moment. Plus bonus lesson - it's only free if you don't make a purchase!


Blog Award


Thursday, October 27, 2016
Friday, October 21, 2016
Sanity Saving Puff Quilt Tutorial (no sewing individual 'pillows')!

I decided to try to make a puff quilt. I had heard that many people only make one because they are a headache to make. But I decided to do it anyway... I read a bunch of tutorials on how to make one and I could see why people would say one was enough, but once I get an idea I have to run with it. However, as I made my puff quilt I realized there was an easier way to make it than ALL of the tutorials I had read! So I decided I had to share how to make it because I'm all about helping make life easier for everybody!
This tutorial does not include making individual pillows or hand sewing the backs of each pillow closed! It involves sewing each square into rows and then two rows together before stuffing, so you only have to deal with the bulk of the stuffed pillows for 8 seams - plus adding the border (and they're long so you have plenty of quilt to help guide it through)! That's why I call this the Sanity Saving Puff Quilt Tutorial.
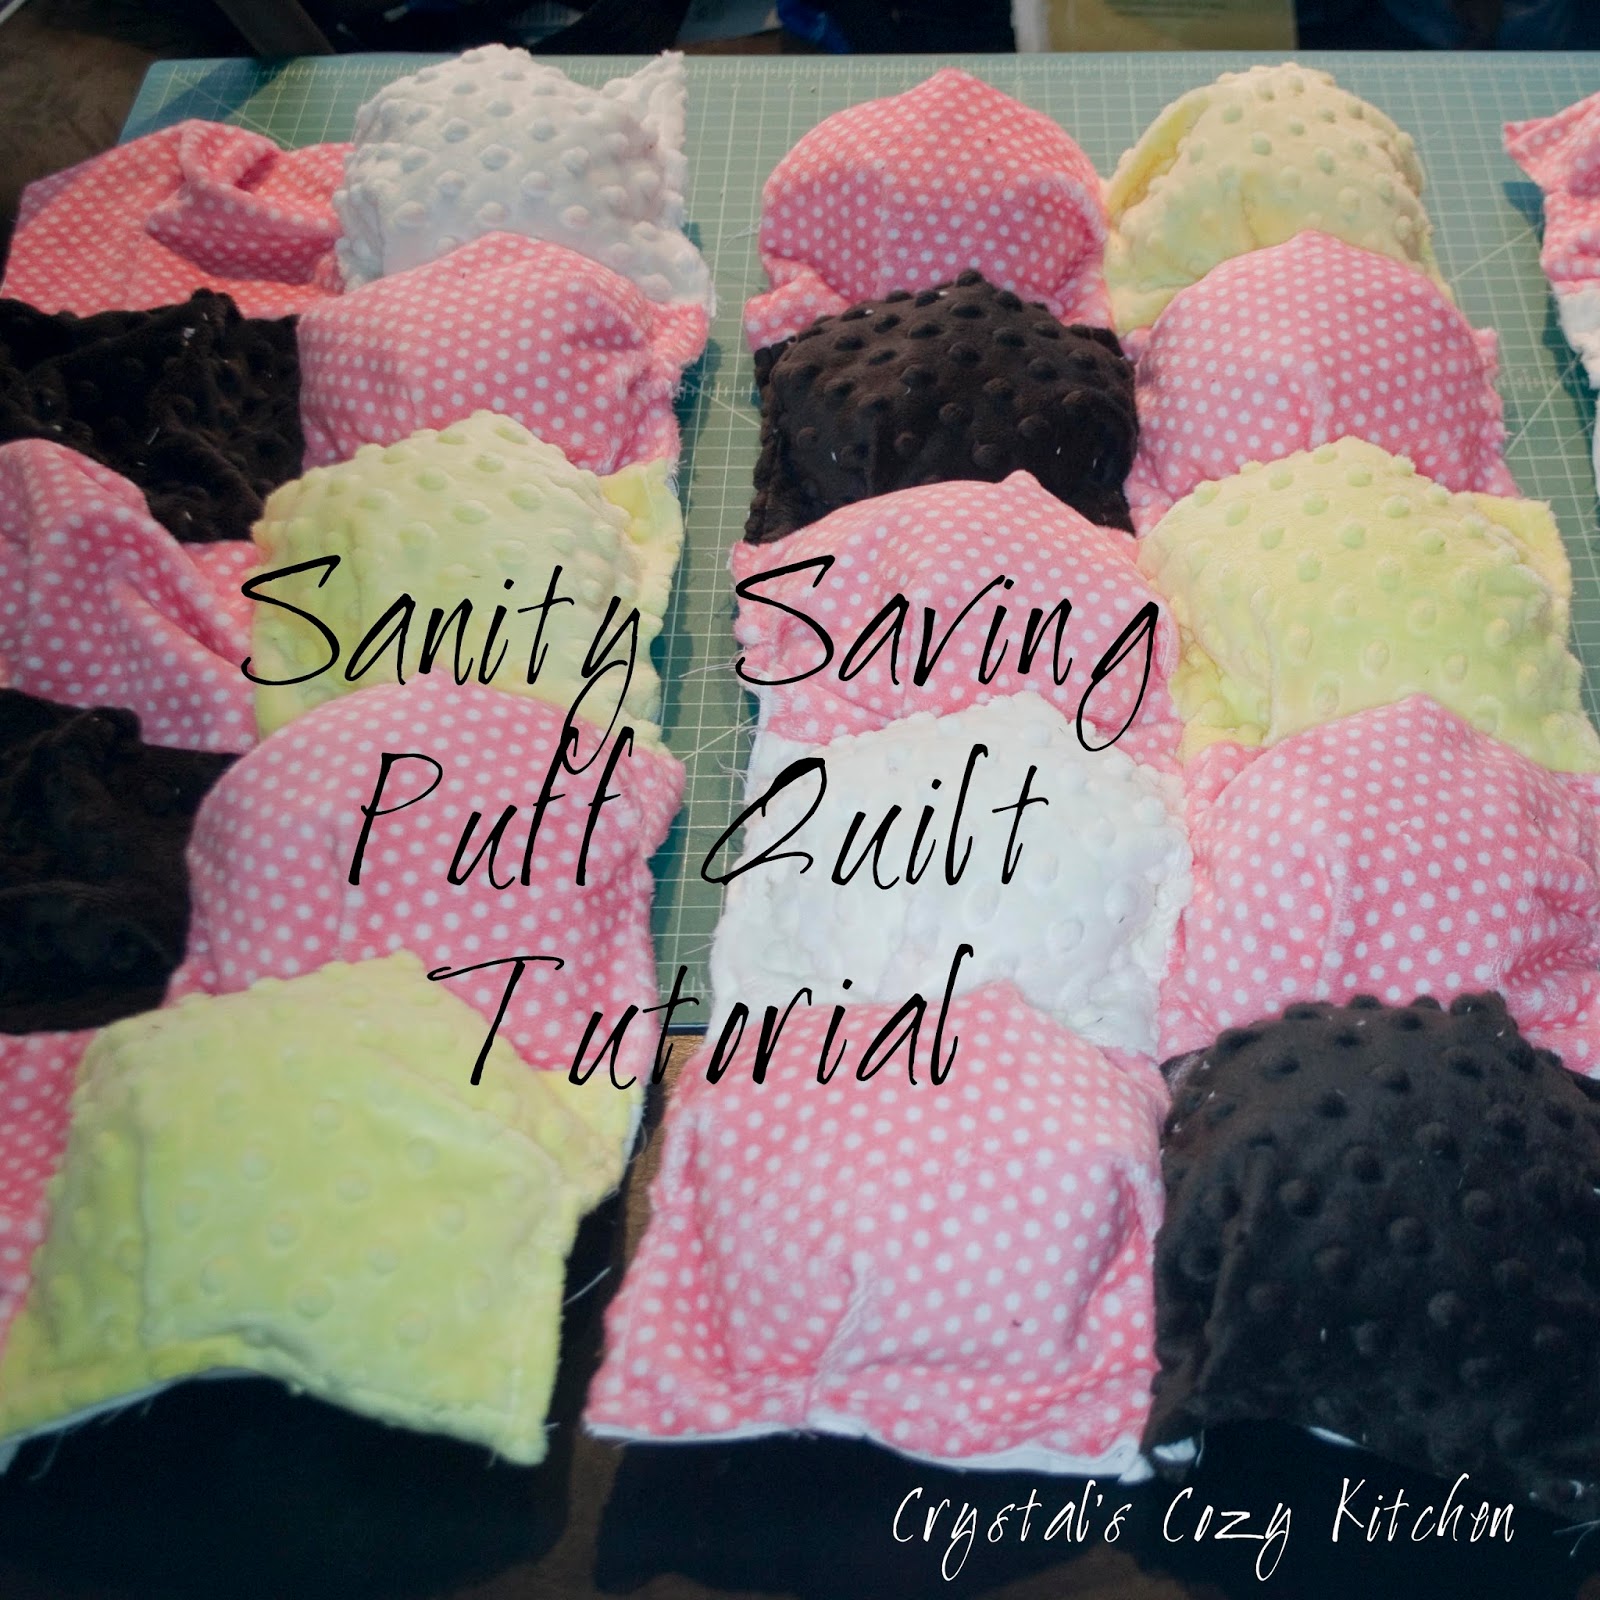
Sanity Saving Puff Quilt Tutorial (How to make a Puff Quilt)

Materials Needed (toddler size):
30-8 inch squares coordinating fabric (I used minky and it is super soft!)
30-6 inch squares any fabric (this will be on the inside of the quilt so you can use anything - muslin, etc. Just make sure that if it is colored it doesn't show through the top fabric!)
Fiberfil
Extra coordinating fabric for the border - 4 strips 30 x 9 and 4 - 9 inch squares.
Extra fabric for underside of border - 2 strips about 8x26 inches (you'll want to measure the finished middle to be sure of the exact size) and 2 strips about 8x42 (again you'll measure during the process to make sure it's the right size)
1.5 yards for the back (will have a bit left over)
And thread, sewing machine, etc.

We'll start with the 8 inch squares and the 6.5 inch squares.


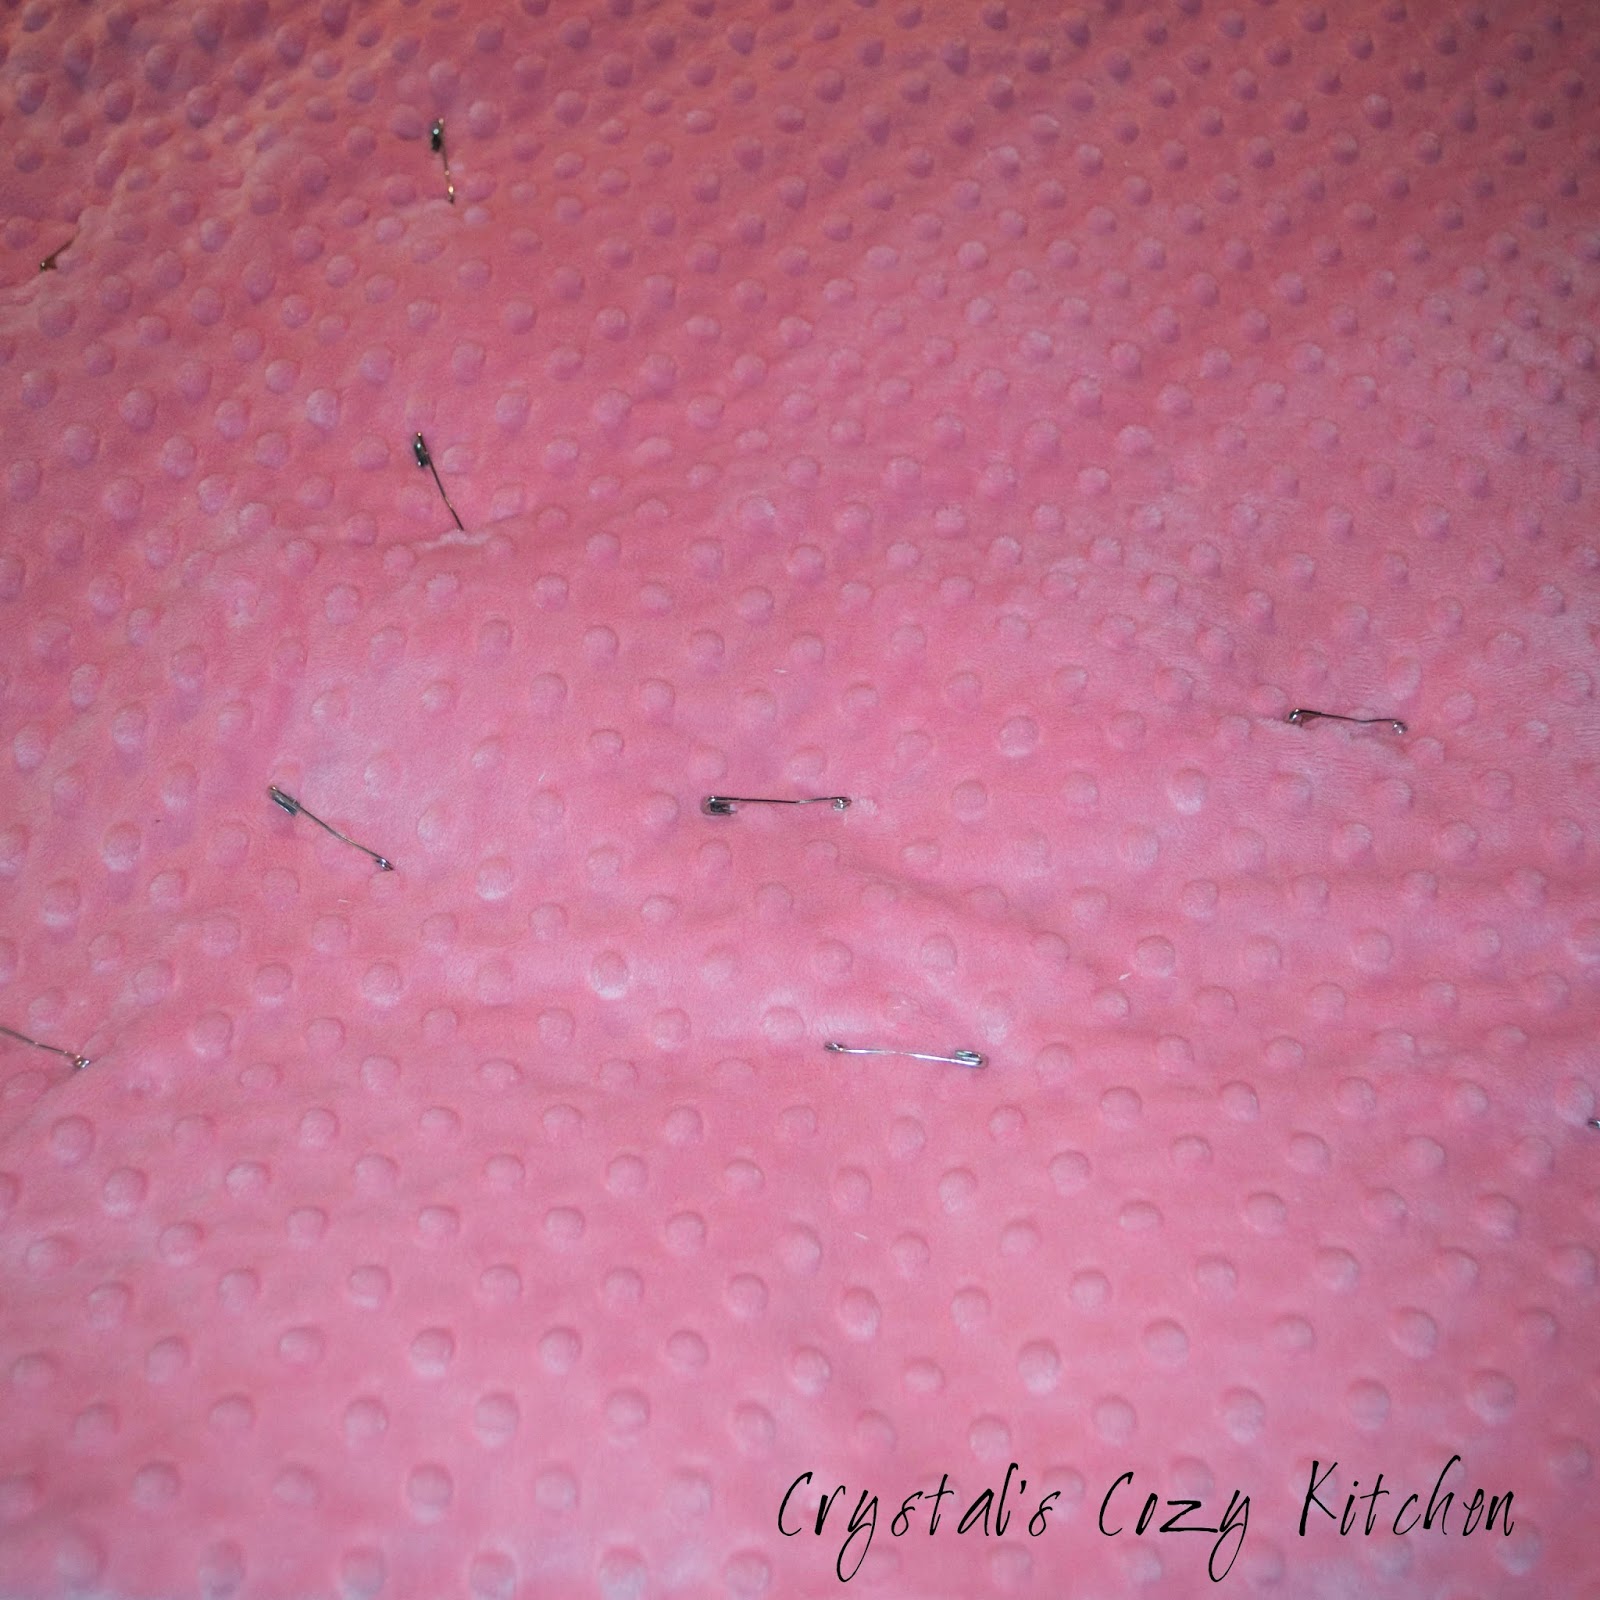
Start by measuring the dimensions of the finished rows. Cut 2 strips of the underside fabric to equal the length (these will be the shorter measurement). Then sew them to 2 of the strips of coordinating fabric, making 4 bunches along the way - it does help to pin to have even spacing. Sew along the ends as well. Then sew 3 dividing seams down it. Stuff with fiberfil and sew closed. Add to opposite ends of the quilt.
Next, sew a 9 inch square onto each end of 2 of the strips of coordinating fabric. Measure the quilt and cut the 2 longer strips to equal the measurement. Sew the coordinating fabric to the underside fabric and repeat steps from above, making an additional poof square where the ends squares are. Sew finished border to the quilt.


Once flipped, pin opening closed and pin on either side of the border seam. Sew closed.


Wednesday, October 19, 2016
Fresh Salsa using a Food Processor
One of my favorite snacks is chips and salsa. I've already shown a version of fresh salsa where you chop them by hand. This version uses a food processor which greatly reduces the time making them (and with three kids now I am all about saving time in the kitchen).
The main problem I have when making salsa in the food processor is that it seems to be very liquidy when it is done. So spell check told me that liquidy isn't a word but I choose to believe that spell check is wrong not me ;). Actually the nerd in me had to look it up and it is a word - but not as accepted as other synonyms, however, I'm keeping it because I think it's the best of the synonyms to describe what I'm writing. But getting back to the salsa - I've recently found a way to counter the extra liquid problem and this salsa is pretty close to perfect, without the time commitment! Extra bonus!

 First you'll need tomatoes, I actually grew these in my garden. I'm pretty impressed with myself since I don't have a green thumb! They aren't very large so I needed a few of them. You'll want about 4-5 normal sized tomatoes.

Cut the tomatoes in half and remove the stem area and the seeds.
 Place the tomatoes in a food processor.
 You'll also need a green bell pepper and a jalapeno.
 Remove the seeds and stems of those and put them in with the tomatoes. (Be careful when handling jalapenos - use gloves or be super careful not to get the insides on you... it can be irritating and painful!)
 Pulse them until you've reached the desired choppedness.
 Place into a bowl.
 Add 1 Tbsp lemon juice, 1 Tbsp lime Juice, 1 tsp Salt (or a bit less if you like to use less salt) and 1 cup Freeze Dried Chopped Onions
 I honestly love that I don't have to chop the onions and they soak up all the extra liquid, it's totally win-win!
 Mix them all together. At this point you can also add some cilantro, I don't because my husband doesn't really like it but it does make me a little sad that I don't! Okay sometimes I do add it to make me happy...
 Cover and refrigerate for 1 hour (or longer).
 Enjoy!
 We ate these with some delicious Shredded Pork Quesadillas! YUM.
The main problem I have when making salsa in the food processor is that it seems to be very liquidy when it is done. So spell check told me that liquidy isn't a word but I choose to believe that spell check is wrong not me ;). Actually the nerd in me had to look it up and it is a word - but not as accepted as other synonyms, however, I'm keeping it because I think it's the best of the synonyms to describe what I'm writing. But getting back to the salsa - I've recently found a way to counter the extra liquid problem and this salsa is pretty close to perfect, without the time commitment! Extra bonus!

Fresh Salsa


Subscribe to:
Posts (Atom)
My Doterra Shop

What's Popular Here


Subscribe


Follow Me
