Friday, March 30, 2012

March Foodie Penpals

This month I participated in Foodie Penpals (for more info and how to join click this link). I really love that this is open to anybody - not just those that have blogs! This month I was able to send a package to Becky. I received one from Gigi. Super fun to be able to interact with two new people this month! 

I have to say that waiting for a package is lots of fun. I love knowing that something is in the mail for me ;). I actually got my package the day we were celebrating my son's birthday and since I was in crunch time to get his cake ready, I wasn't able to open it right away... which is my preferred method of opening packages! I'm not patient when it comes to opening fun things... maybe I should just say I'm not patient. 

After the birthday party and my son was in bed (less chaotic) I pulled the package out from where I hid it (so no little people could get into it during the party ;) and opened it.

This is what I found:
 Bubble wrap ;).
 Lots of stuff inside the bubble wrap. I have to say I was excited to get the Sea Salt Chocolate, I've always wanted to try it!
 Recipe cards... I never buy these, but I love to have some on hand.
 Hot pads and a rubber spatula (double sided with two sizes...)
 and how cute is this - a teddy bear for my baby that's due in a few months!
She also sent a recipe for granola and the stuff to make it!

Seriously, this was like opening a Christmas present. I can't wait until next month when I get to do it again.

And now to share the delicious granola recipe that she sent me: 
Granola
 You'll need 4 cups of old fashioned oats (not the instant stuff), and 1 cup of slivered almonds.
Plus 1/4 cup brown sugar, 1/4 tsp salt and 1 tsp cinnamon,
As well as 1/3 cup melted butter, 1/3 cup honey and 1/3 cup water.
 Toss them all into a bowl,
 and mix until combined.
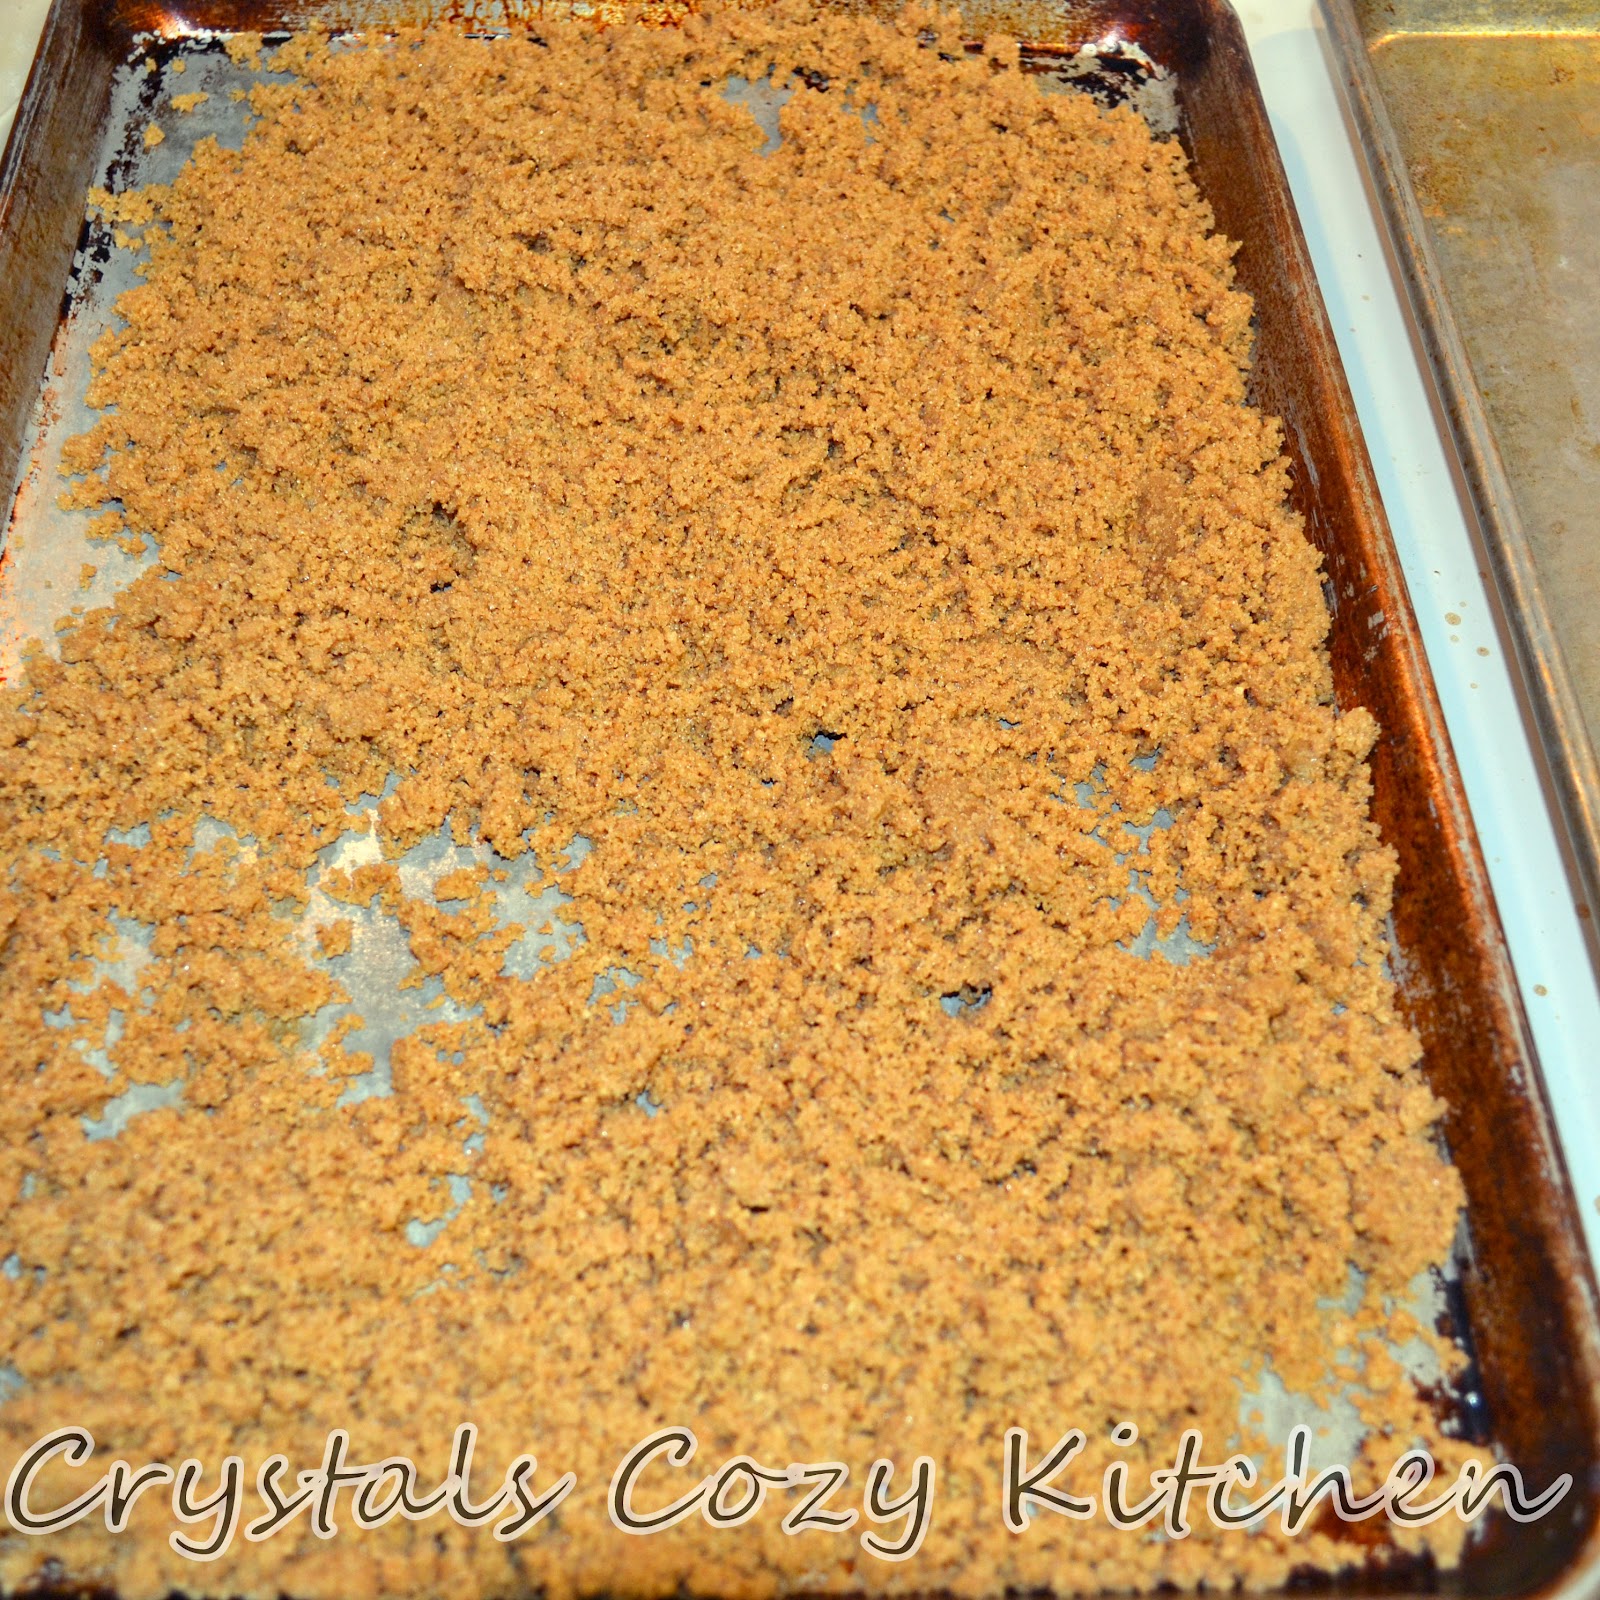
Dump onto a cookie sheet, and spread as evenly as possible.
 Bake in a 300 degree oven for about 40 minutes.
 Remove after 15 minutes and stir them around.
 Put back in the oven for 10 more minutes.
 Remove and stir again.
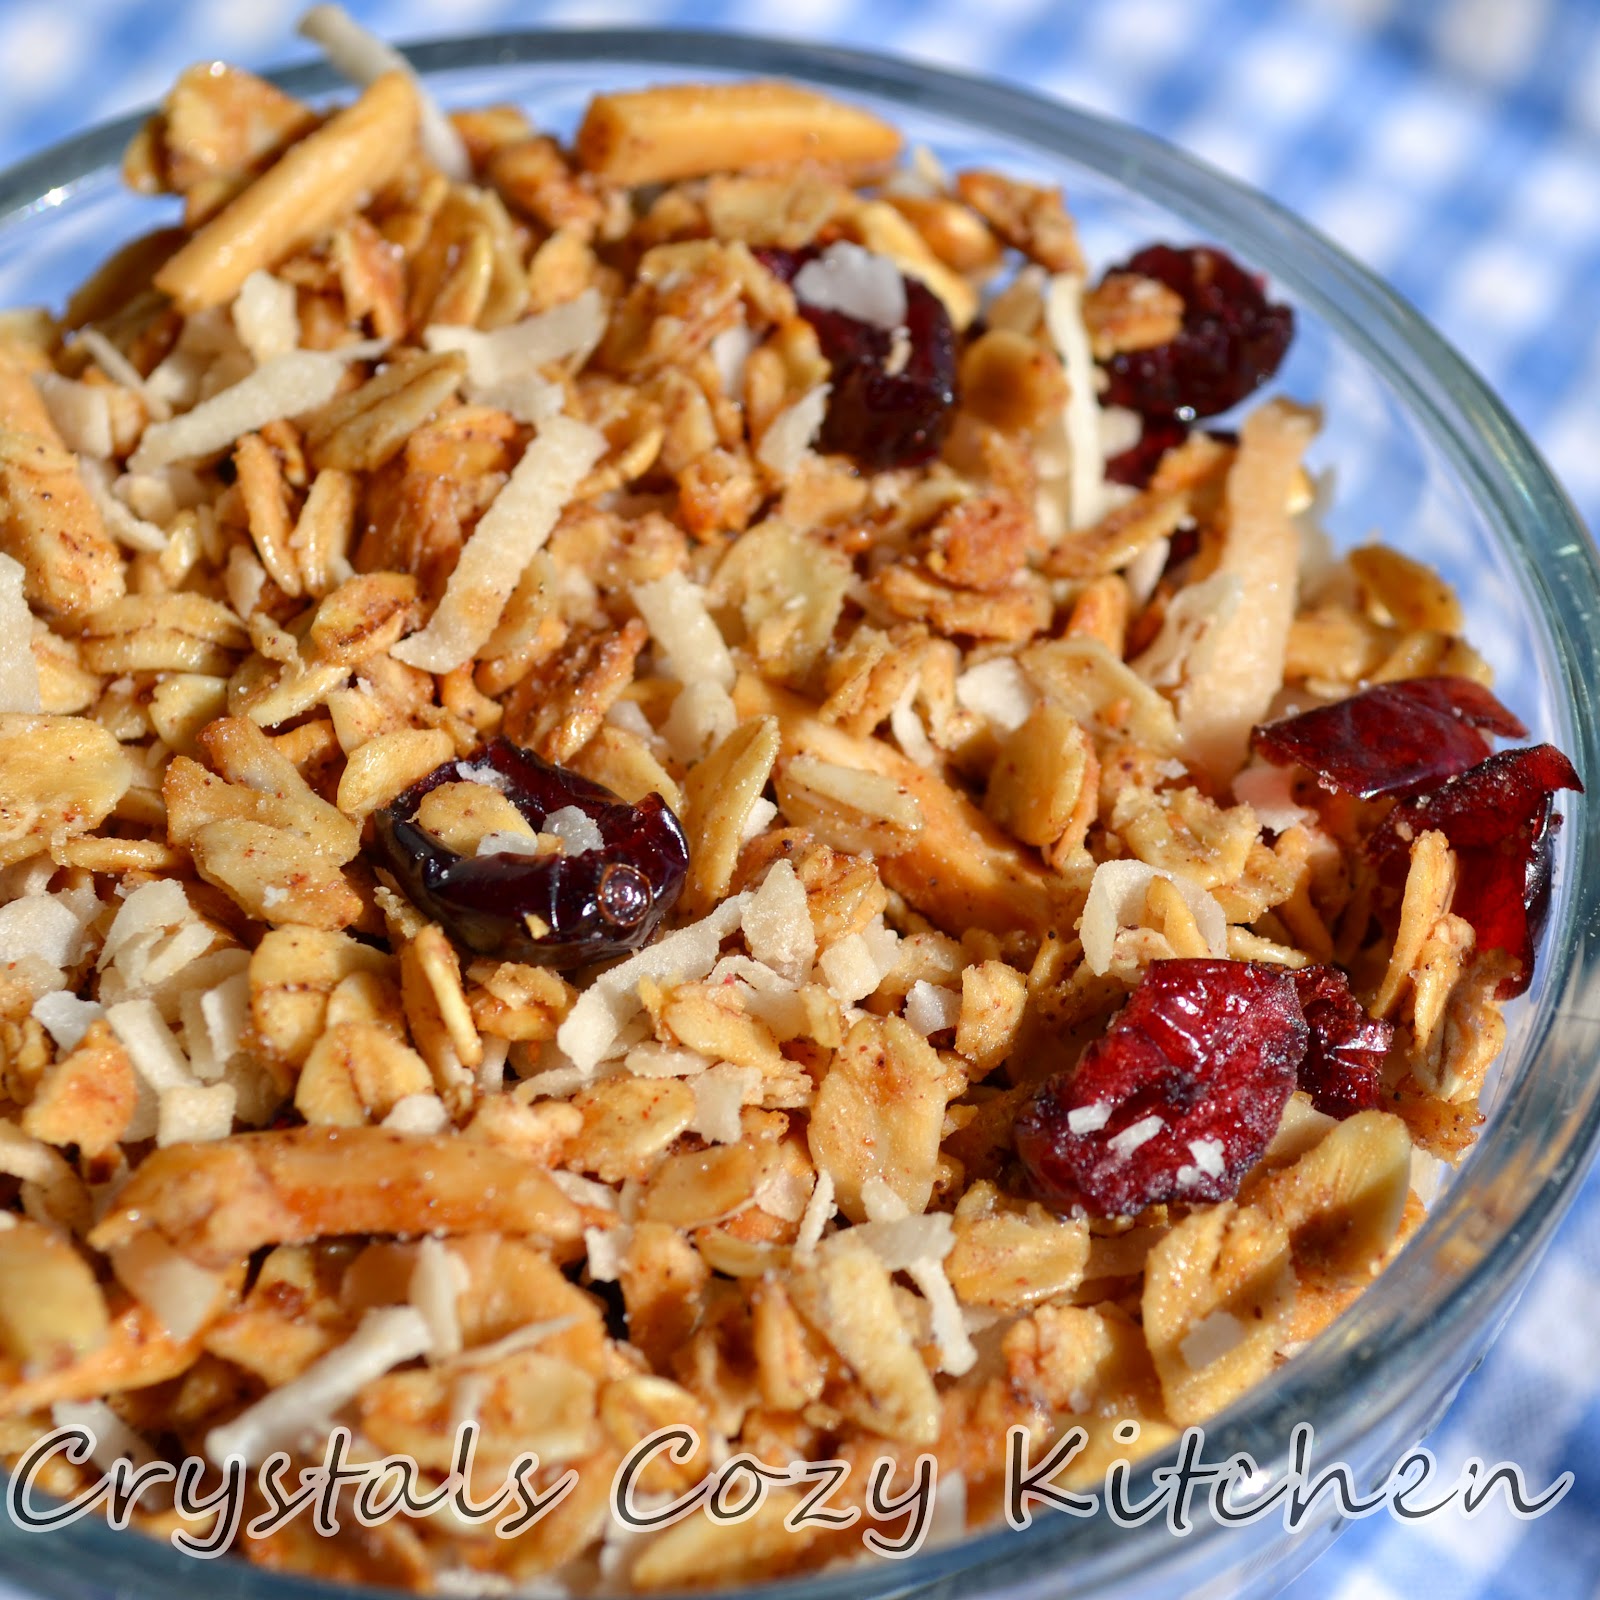
 I varied here from the recipe and added 1-1/2 cups flaked coconut
 and 1 cup craisins, to the granola and mixed them in.
 Then continued baking. Gigi's recipe said to add the coconut and craisins at the end after it had finished baking, but in my tests of making granola years ago I learned I like toasted coconut and craisins that have been cooked in a bit.
This is just my preference and you can make your own judgements as to when to add it - adding them earlier can make the coconut a little too toasty though. Adding a the end will make the granola a bit softer.
 Continue to cook in 5 minute increments (stirring after each as the top layer gets the most toasting) until the desired toastedness has been reached.
Toastedness, is that even a word? 
 When the desired level of toastedness has been reached, remove from oven and allow to cool.
 You can cool in the pan or on parchment paper.
 Once the granola has cooled, comes the best part. Eating it!
 Yum!
 Making this reminded me how much I use to make granola when my husband and I were newlyweds...
 Eating it plain made me want yogurt... so I ate some yogurt, without granola - I didn't think of adding it until my last bite! Sometimes I love my pregnant brain...
 Thanks Gigi for sharing this recipe with me.
I hope you enjoy it, I sure did!

Wednesday, March 28, 2012

Menu Catch-up

The past two weeks have been super busy... it started out with making cakes - my son's birthday cake, then 4 cheesecakes for our women's group dinner and ended with a weekend getaway for our little family. I am still not unpacked from our trip, but I feel like I am getting a bit more caught up and settled down! I wish I was caught up on unpacking, doing laundry and deciding what we're having for meals for the rest of this week...

Since I've been so busy living my life lately, I haven't posted any semblance of menu for a while... so I thought I'd share a bit of what we've had to eat in the past two weeks. It is not in any order, but just a random list of what we've eaten (that I can remember...)

* Chicken Cashew Stir Fry

* Chicken Caesar Salad Wraps

* Tostadas

* Broccoli Chicken Alfredo

* PB & honey sandwiches

* Grilled Cheese

Plus we ate out a few times while on our family vacation. This weekend I'll be back to my usual meal planning mode :).

Tuesday, March 27, 2012

Cheesecake for a crowd

One of my favorite desserts is cheesecake. They aren't that hard to make (just a bit of time...), but the best part after they're made is the absolute enjoyment in every bite! I've only shared two cheesecake recipes with you (why, I have no clue because honestly they are way too delicious for me to only be posting the third!)... Oreo Truffle Cheesecake and Triple Chocolate Cheesecake. Both of which are absolutely delicious, but today I'm going to share a cheesecake that will feed a crowd - how big of a crowd depends on how large/small you cut the pieces. It will feed 15 people with generous sized pieces of cheesecake! The secret - cooking them in a jelly roll pan. The pieces are not thick, but most people don't complain about getting cheesecake in any form! (At least not the people I've ever served this to...)

I first made cheesecakes like this for my sister's wedding (I was almost 16 at the time... and in the week up to her wedding I made 8 of these - although the flavors were varied.) We cut the pieces fairly small then (about an inch square) and had plenty of leftovers. I learned at that point in my life that cheesecake freezes very well and doesn't lose too much after being in the freezer for a month or more. My family may have eaten a ton of cheesecake that summer! (Nobody was complaining... until it ran out.)

You can adapt pretty much any cheesecake recipe to make it on a jelly roll pan, but it needs to have about 6-8 cups of cheesecake batter. Oh and the crust will pretty much need to be doubled - about 3 cups of crumbs is needed to coat the bottom of the pan. (You can also make this recipe in a springform pan as well, cut the crust in half and bake for about 70 minutes. Let refrigerate for at least 6 hours.) I actually made 4 of these in one day, it took pretty much all morning and afternoon (If I had more mixing bowls and stuff I wouldn't have had to wait for the dishwasher...) I actually prefer just getting in the groove and making them all at once (I made two at a time). The best thing is that they were all ready for our local congregation's Relief Society (women's organization) Birthday dinner that night!

Cheesecake for a Crowd
Crust:
 First you'll need to make a crust. The hardest part is to crush the graham crackers - you'll need 3 cups of crumbs. Hardest that is unless you use a blender (I couldn't ever get it to work right) or a food processor. This is the first time I've used a food processor to make crumbs and I fell in love with it all over again. When I made the wedding cheesecakes I actually did them all by hand so I KNOW what a pain it can be!
 Then add 1/2 to 2/3 cup sugar to the crumbs. (For a less sugary version, you can omit most/all of the added sugar.)
 as well as 1-1/2 to 2 sticks (3/4 to 1 cup) melted butter.
Mix together until crumbly.
Dump onto Jelly Roll Pan (okay, so I totally call this a cookie sheet all the time, but technically it is a jelly roll pan because it has the lip - you need it!)
 Press the crumbs as evenly as you can all over the cookie sheet. You can use your hands, a glass, spatula, or whatever you want. Bake in a 350 degree oven for about 8 minutes, remove and let cool.

Filling:
 You'll need cream cheese - softened by leaving at room temperature for at least a half an hour... if not more. You need 24 (3-8 oz packages) ounces to be exact.
You'll also need sugar. 1 cup of the white stuff (I actually used in between 3/4 and 1 cup sugar). Beat the cream cheese and sugar until fluffy and smooth.
 And 4 eggs. Typically you mix in the eggs one at a time.
 Scraping the side of the bowl after each addition. I however, added 2 at a time because I doubled the recipe and was actually adding 8 eggs.
Be sure to fully incorporate each egg, and scrape the bowl in between each addition. Someday I'm going to get the scraper beater attachment for my kitchen-aid and then my life will be easier...
You'll also need 1/2 cup of sour cream.
 Dump it into the batter.
 2 teaspoons of lemon zest get added as well.
 Oh and lemon juice... 1-2 Tbsp of that - depending on how much citrus you want to come through.
Pour the batter onto the crust.
 Spread evenly over the entire crust, then bake at 350 degrees for 20-25 minutes.
 Remove and let cool 30 minutes, then refrigerate for 3-4 hours. You could probably get away with 2 hours of refrigeration in a pinch.
 Cut into serving pieces. I cut this one into 15 servings.
You can cut them into smaller pieces as well. It could feed 18-21 people quite comfortably.
 You can eat this plain, or add a topping to it...


Blueberry Topping:
 You'll need a saucepan, 2 cups blueberries (Fresh or Frozen - I used frozen),
 1/4-1/2 cups sugar,
 1/4 cup water
 and some heat... Bring to a simmer and let the blueberries start to loosen/break up a bit. I used my hand blender and made it a bit chunky then added 1 more cup of blueberries to it. Add more sugar to taste.
When it is warmed, add 1 Tbsp Cornstarch to 2 Tbsp water and whisk until combined. Add to blueberry sauce and simmer for 2-5 minutes. Remove from heat and let cool.
Serve over cheesecake.

I also made a peach sauce (I kind of cheated for the peach sauce)
 I combined 1 can (about 20 oz) peach pie filling, and 1-16 oz package of frozen sliced peaches into a pan with a bit of water and let it come to a simmer.
 Once the frozen peaches were warm, I removed it from the heat and let it cool.
Both sauces worked great on the top of the cheesecake! Each sauce was in it's own serving dish and we let people choose what they wanted to top their cheesecake with. If you are only making one sauce, you can top the whole cheesecake with the sauce and chill for an hour or two before serving.
For a strawberry sauce, you can make it the same way as the blueberry sauce using fresh or frozen strawberries - you can also use frozen sweetened strawberries and add a tad less sugar (be sure to add sugar to taste.) I pureed the entire batch of strawberry sauce and served with fresh strawberries.
I however, did not take pictures until after the event I made these for and there were no strawberries or sauce left (so obviously it was the biggest hit for this event!)
If you want even more variety - you can make a raspberry sauce (black or red) the same way as the blueberry sauce was made.  Canned Cherry pie filling also works as a topping...
I'd like to try a nectarine sauce next time... there are so many possibilities!


Enjoy!
Print Recipe